Frequently Asked Questions on the Entire ELISA Assay Process
BUNSEN BUNSEN Drawing on extensive practical laboratory experience, this guide covers the most common issues encountered at every stage of an ELISA experiment—from reagent preparation to result interpretation—enabling you to quickly pinpoint the cause of experimental failure:
1. Signal colouring-related anomalies
Standard curve shows no colour/very faint colour: standard Insufficient vortex mixing after dissolution; dissolution cannot be guaranteed by pipette pipetting alone; or failure to add key components such as antibody and enzyme, resulting in antigen and antibody failing to bind and produce a colour.
The standard curve shows normal colour development; specimen no signal: the concentration of the target in specimen is far below kit the limit of detection, or specimen the presence of interfering substances such as strong surfactants has disrupted the specific binding of antigen antibody.
Abnormally high background, specimen signal masked: OD values in blank wells exceeding 0.1 are usually due to excessive colour development of the TMB substrate; the reaction was not terminated in time before a distinct colour appeared in the positive control, resulting in a significant accumulation of non-specific binding.
The colour appears normal to the naked eye, but the enzyme spectrophotometer reading is low: The wavelength settings for the enzyme spectrophotometer are incorrect. To detect the TMB substrate, the measurement wavelength must be set to 450 nm and the reference wavelength to 650 nm; using the wrong wavelengths will directly result in distorted readings.
2. reproducibility and stability-related exceptions
Excessively high CV value for multiple wells (exceeding 15%): pipette Failure to calibrate regularly, inconsistent sample dispensing, and significant variation in the volume transferred between wells; or temperature fluctuations during incubation, resulting in inconsistent reaction progress across different wells.
The colour development at the peripheral wells is significantly greater than at the central wells: the seal is not airtight; 96-well plate as the liquid in the peripheral wells evaporates and concentrates, the concentration of the reaction mixture increases locally, resulting in a typical edge effect.
For the same specimen but with different dilution gradients, the calculated concentrations vary considerably: at high concentrations of specimen, a hook-shaped effect occurs, whilst an excess of antigen / antibody hinders the effective binding of the enzyme labelled secondary antibody, resulting in lower OD values and causing false negatives.
Abnormally high background values after washing: If the concentration of Tween-20 in the washing solution is less than 0.05 per cent, or if the number of washes is fewer than three, unbound non-specific protein residue remains in the wells, causing the background to rise.
Key points to note throughout the entire process
Pre-experiment preparations
All reagents should be removed from a 2–8 °C environment in advance and allowed to equilibrate to room temperature (20–25 °C) for 20–30 minutes before use, to avoid antigen antibody uneven binding efficiency; during winter when room temperature is low, place the reagents in a 37°C incubator to assist with equilibration.
standard Must be aliquot cryopreserved; avoid at all costs repeated freeze-thaw which leads to protein; if crystals form in the washing solution, it must be fully dissolved and thoroughly mixed in a 37°C water bath before use to prevent variations in concentration.
Perform calibration in advance pipette; for multi-channel pipette systems, calibrate the pipette volume for each well to avoid overall deviations in results caused by pipetting errors.
Coating and Sealing Stages
Coat antigen / antibody with pH 9.6 carbonate buffer buffer; the concentration should be determined by preliminary experiments, as too high a concentration will increase non-specific background, whilst too low a concentration will result in an insufficient signal.
After coating, it is recommended to leave the plates to stand overnight (12–16 hours) at 4 °C; this results in more stable binding and lower background levels than incubation at 37 °C. Immediately after coating, remove any excess liquid and add the blocking solution straight away to prevent the well bottoms from drying out, which could lead to uneven blocking.
Sample addition and incubation stages
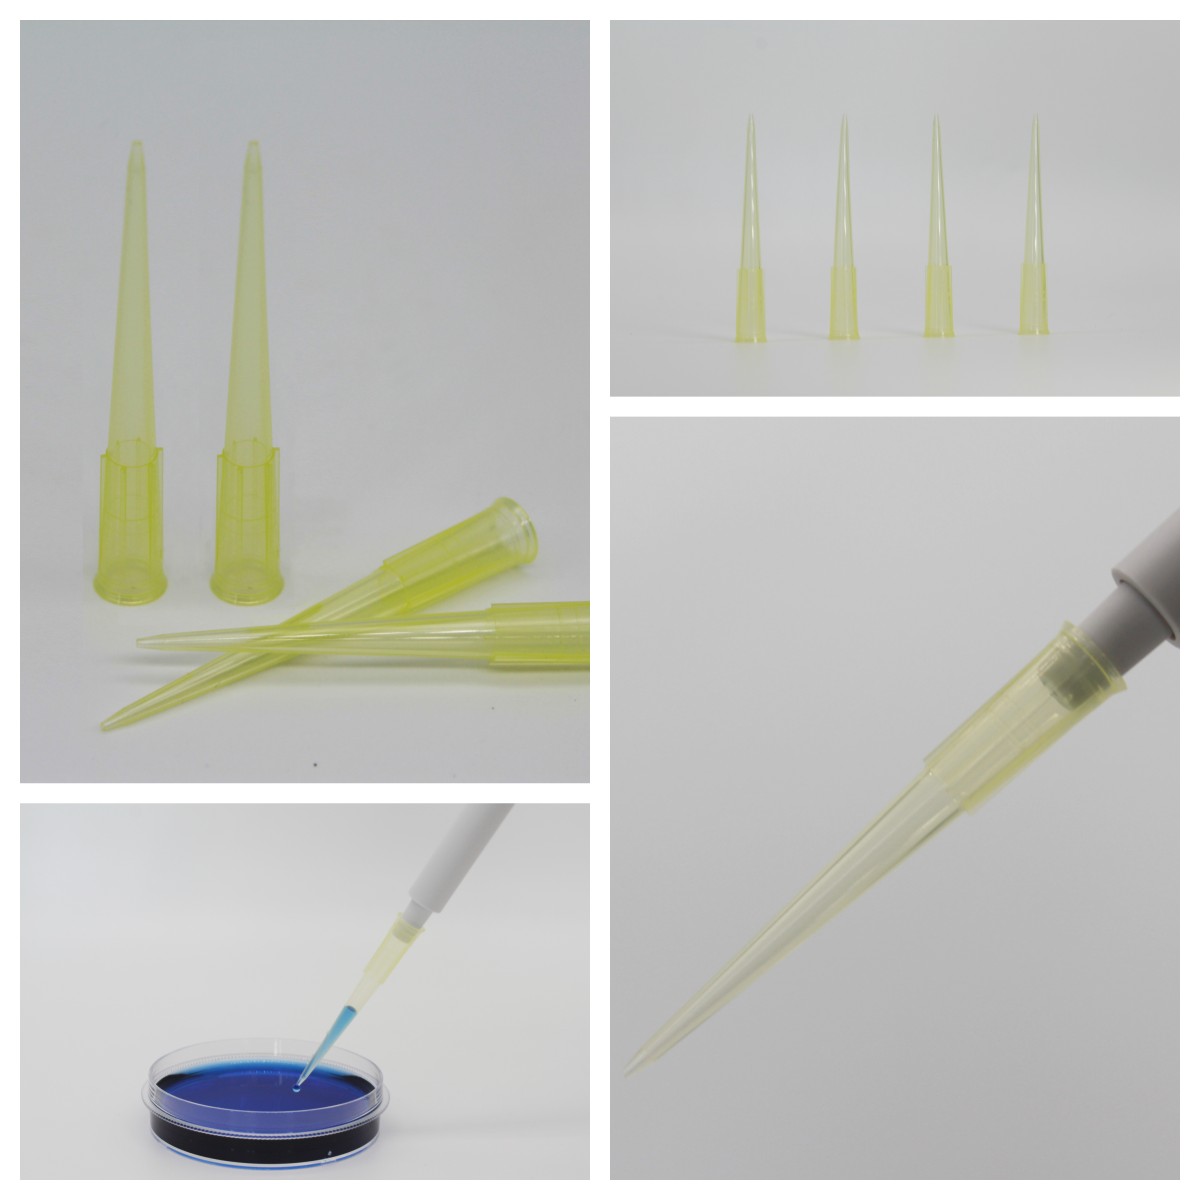
When dispensing, hold the pipette tip vertically in the air; do not touch the walls or bottom of the well to avoid dislodging the seal; change the pipette tip after each specimen to prevent cross-contamination.
Incubation must be carried out in a humid environment; place damp filter paper at the bottom of the incubation chamber. Keep the chamber sealed throughout the incubation at 37 °C to prevent condensation from dripping into the wells and diluting the sample specimen, whilst also preventing evaporation of the liquid, which could cause a edge effect.
The incubation time must be strictly adhered to as specified in the instructions; do not extend it arbitrarily, as doing so will significantly increase non-specific binding and directly raise the background level.
Washing and Colour Development Stages
Washing is a key step in reducing the background; for each wash, fill each well to the brim, allow to soak for 30 seconds, then blot dry; repeat this washing procedure at least 3–5 times; After washing, invert the microplate on absorbent paper and tap it firmly to remove any unbound residue.
The TMB substrate solution must be prepared immediately before use and kept away from light throughout the process to prevent premature oxidation and loss of efficacy; when a distinct blue gradient appears in wells with a high concentration standard, stop the reaction immediately to prevent over-colouration.
Termination and Reading Procedures
The order and rate at which the stopping solution is added should be kept as consistent as possible with the substrate, to ensure that the reaction is terminated simultaneously in every well; readings must be taken within 15 minutes of termination, as the coloured product will fade if this time is exceeded, resulting in lower OD values.
Wipe away any fingerprints or water marks from the base of the microplate before taking a reading. The use of dual-wavelength reading (450 nm measurement wavelength + 650 nm reference wavelength) effectively eliminates background noise and significantly improves reading accuracy.
Note: The information on the scientific research products above is for reference only!